


Steam, flake, melt — that’s how you know you’ve brought them back to life.
The Generations of Heat
Ruth Shephard baked her biscuits on a wood-fired stove, long before timers or temperature knobs. She fed her people with patience, tending both fire and heart until the kitchen smelled of love and rising dough.
My grandmother cooked in a cast iron skillet and used both the 3 season woodfired stove and an electric range in summer. She could tell the right heat not by the dial, but by the sound and the smell — a quiet hiss when butter met the pan meant it was just right.
And here I am, generations later, with my electric range and freezer bags, still chasing the same warmth. My electric flame glows instead of crackles, but the love behind it hasn’t cooled a bit.
So this is how I do it now — how I bring cold biscuits back to life. Not just to eat, but also to remember.
Ruth’s Way, My Way: Step-by-Step


Step 1 – From the Freezer
Take one biscuit straight from the freezer.
Step 2 – Individually Frozen Beauties
Because we wrapped them one by one, each one’s still perfect — no frostbite, no crumbled mess.


Step 3 – Into the Microwave
Just enough to wake the chill, not bake it.
Step 4 – Warm for 20 Seconds
It'll be warm to the touch, but still soft inside — ready for the real heat.
Step 5 – Turn the Burner On High
Warm up the skillet so butter will melt in it.
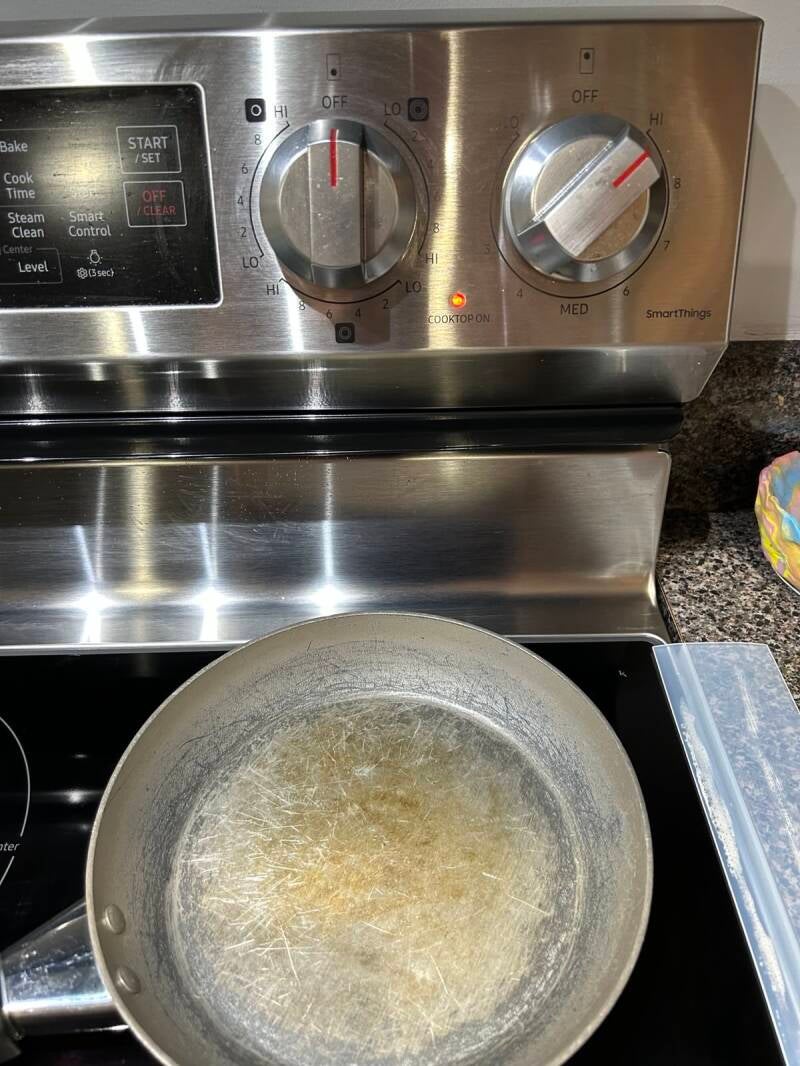

Step 6 – Heat the Empty Skillet
Let it get good and ready — you want that quiet shimmer of heat that just smells like — put the butter in now.
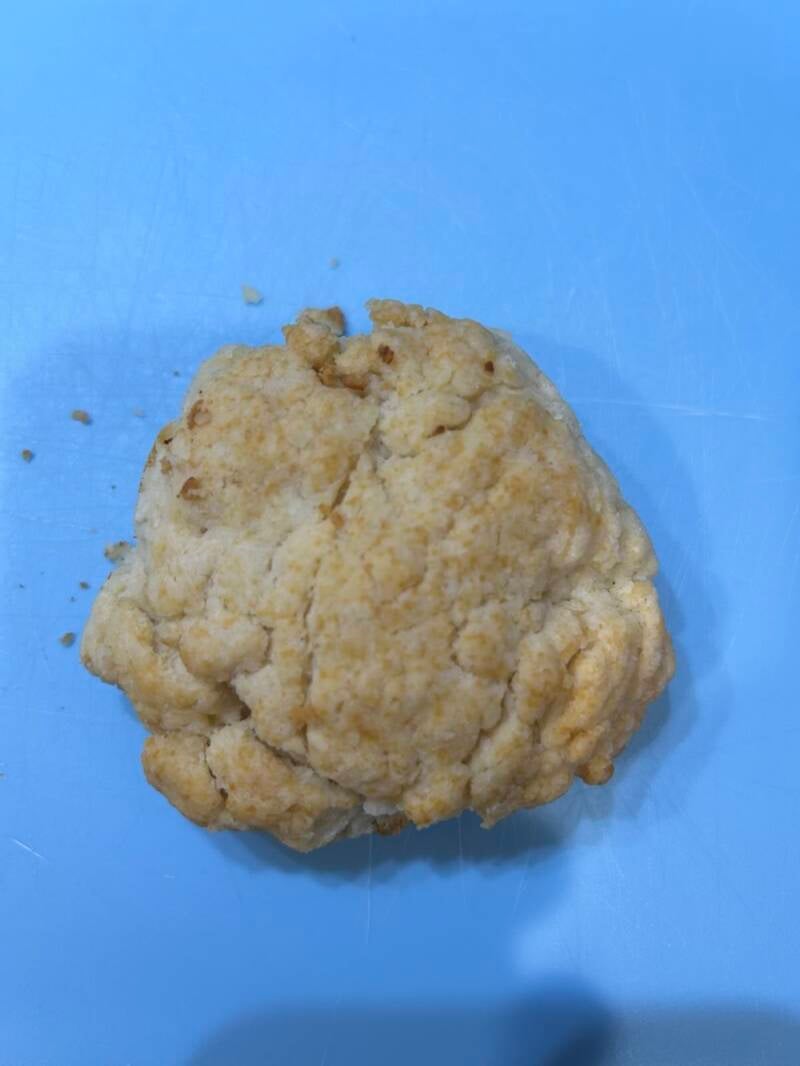
Step 7 – Just Thawed Enough
Your biscuit should still be cool inside — patience will pay off.
Step 8 – Split It in Half
Only use a serrated knife to slice it open like two little doors waiting for sun to pour in. It will likely crumble a bit - That is OK!
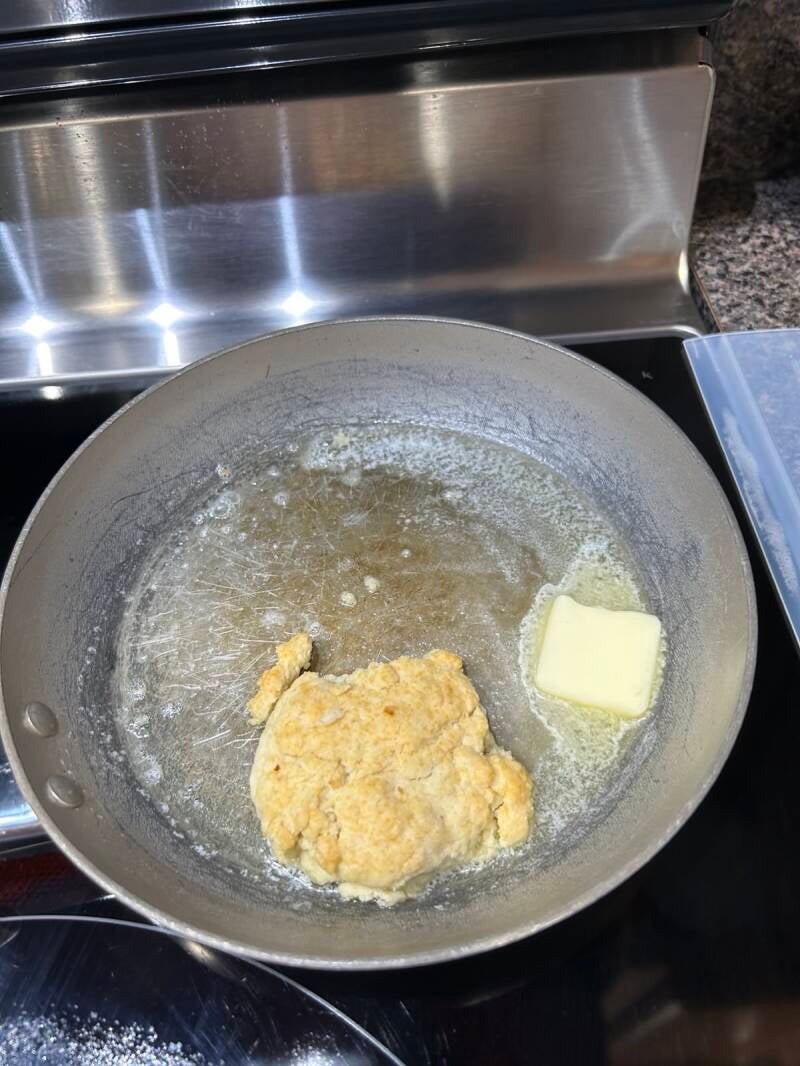


Step 9 – Melt Butter (Yes, More Butter!)
Drop a good pat of butter into the
skillet to melt, and if it starts to brown,
take the skillet off the heat - don't let that butter brown.
Step 10 – Face Down in the Butter
Lay each half face-down and watch how the crumbs drink up the butter. It will get a little crumbly, just plan on that. The crumbs are the best, crunchy parts!
Step 11 – Trap the Heat In with a Lid
Once everything is well covered in butter, trap the heat in with a lid and turn off the heat. The trapped heat is just as "magical" as the butter itself.


Step 12 – Perfectly Toasted
Give it 1-2 minutes - It doesn't take long at all. The edges get crisp, the centers stay soft — and your family will smell that they are ready before you plate them.
Step 14 – Don’t Forget the Crumbs
All that buttery goodness at the bottom? That’s flavor, and crunchy goodness.
Don't dare leave it behind because
it's the best part.
Step 15 – Honey Time
Drizzle just a touch — or a lot, like I do. (honey is like butter, you know....) Because why not end with sweetness? Steam, flake, melt. That’s how you know you’ve brought them back to life.
🌿 The Warmth That Lingers
Every generation has its own fire to tend. Ruth had wood and faith. Grandma had cast iron and intuition. I have an electric flame — and the same heart to keep the warmth alive.
It isn’t about the stove or the butter; it’s about the intention that brings something cold back to life. That quiet care is what keeps love — and biscuits — warm.
Next time, we’ll talk about what goes on top of the biscuits — the kind of gravy Ruth and Grandma would approve of (and how to keep all the lumps out).
If you missed the first two stories, you can read them here:
Butter on the Outside, Flakes on the Inside
The Fire Still Burns: How We Keep Biscuits (and Love) Warm
Add comment
Comments